


Изучая боевые искусства, никогда не будет лишним иметь в своем распоряжении деревянный манекен. Я видел их в фильмах о кунг-фу (“Потомок Вин Чун” и “Разборка в Бронксе” и всегда думал, что было бы неплохо приобрести один такой. Кроме того, каждый, у кого есть свой собственный Мук Ян Джонг, обязан быть серьезным мастером боевых искусств.
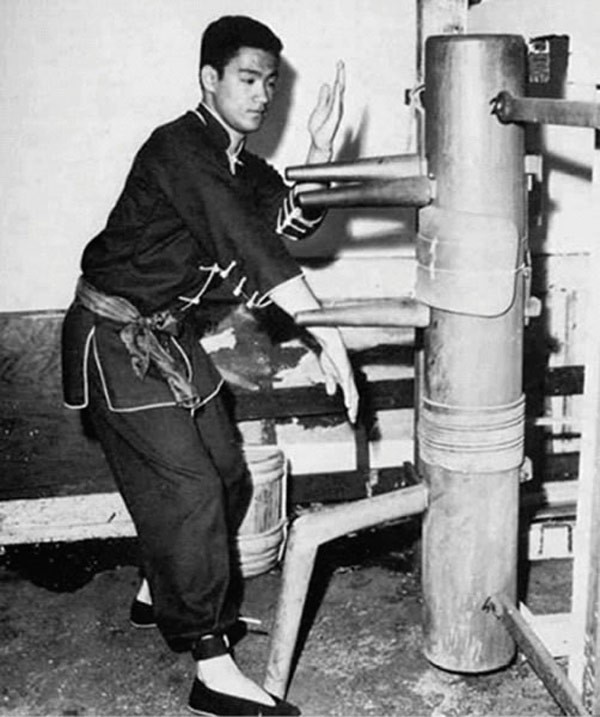
Но меня сдерживали несколько факторов. Во-первых, я не изучаю кунг-фу Вин Чун, с которым обычно ассоциируют деревянный манекен. Я изучаю “семь звезд молящегося богомола” и стиль Cеверного Шаолиня. А во-вторых - цена. У подобных вещей приличная стоимость. У меня жена, двое детей и ипотека. Приобретение деревянного манекена по цене почти 1000 долларов - для меня слишком большая растрата.
Я знал, что мне придется немного изучить Вин Чун (об этом немного позже), чтобы использовать Мук Ян Джонг. И если мне он нужен, я должен сделать его сам. Так начались мои приключения с созданием деревянного манекена.
Начал я с поисков информации в интернете. Нашел много сайтов, где продавались Мук Ян Джонги. Но, как я уже говорил ранее, я не мог потратить от 700 до 1200 долларов на покупку, поэтому продолжил поиски. Я нашел несколько сайтов, продающих чертежи. Может, я просто жадина, но мне не хотелось за них платить. В конечном счете, я нашел несколько бесплатных сайтов и использовал части каждого из чертежей для составления финального дизайна моего Мук Ян Джонга.
Для начала, мне было необходимо сделать главную часть моего манекена - остов. Обзвонив парочку пилорам, я связался с одной, у которой могло быть то, что меня интересовало - бревно из сосны, длиною в пять футов (полтора метра) с диаметром в девять дюймов (23 сантиметра). Я решил использовать сосну потому, что живу в Колорадо, и здесь не так много тикового дерева. А поскольку манекен будет стоять у меня в гараже, то особой нужды в дополнительных инструментах не возникнет.
За бревно пришлось заплатить 38 долларов. Когда я принес его домой, то увидел в несколько очень больших трещин. Теперь я понял, что они имели в виду под словами “грубая обработка”. Бревно можно было назвать каким угодно, но только не гладким. Я заполнил трещины древесными опилками и принялся его зачищать. Это заняло несколько часов, но в итоге я получил нужную мне гладкую поверхность.
После зачистки мне необходимо было перенести размеры с чертежей на само бревно. Легко, на первый взгляд, да? Но, на самом деле, все оказалось намного сложнее, чем я того ожидал. Сначала я нарисовал прямую линию точно по центру всей длины бревна. Все мои остальные размеры должны были отталкиваться от нее. Сделать метки для ножки - легко. Сделать метки для нижней ручки - легко. Сделать метки для двух верхних ручек - БОЛЬШАЯ ПРОБЛЕМА. Длина ручек должна быть 11 дюймов (27, 94 см), а их концы - находиться на расстоянии в 8 дюймов (20,32 см). Я не имел ни малейшего представления о том, как угадать нужный угол для вырезания отверстий под ручки, чтобы их положение было правильным. Пришлось подключать мозг и экспериментировать. Из ненужных деревяшек я сделал регулируемый угломер, присоединил его к верхней части бревна и выставил положение ручек так, чтобы они были на расстоянии в 8 дюймов. Так я узнал, где должны были находиться центры отверстий под верхние ручки.
Затем я начал подготавливать ножку для моего манекена. В чертежах были указаны необходимые мне углы, но нога должна была быть со сгибом, а я не представлял, как такое можно сделать. В конце концов, я соединил две части с помощью клея и шурупов. Я представил себе, что если сломаю ножку, то всегда смогу сделать еще одну. Но оказалось, что стык двух частей получился весьма прочным.
После того, как ножка была сделана и все метки с чертежей были успешно перенесены на бревно, мне можно было начинать сверление и созданные отверстий. Я не поленился, еще несколько раз проверил все размеры и приступил к работе. В работе над отверстием для ножки я использовал дюймовое (2,54 см) сверло для дрели и ? дюймовое (1,9 см) долото. После сверления отверстия, я начал работать долотом. Мне необходимо было углубить отверстие и вставить туда ножку, убедившись, что она размещается под правильным углом. После примерно одного часа работы отверстие было сделано и мой манекен начал приобретать знакомые очертания.
Токарного станка у меня нет, а ручки я хотел сделать из дуба, поэтому я передал столяру по факсу чертежи. Его работа обошлась в 112 долларов за три ручки, но это стоило того, поскольку они получились просто отличные.
Забрав ручки у столяра, я начал просверливать дыры, и делал это так же неспешно и осторожно, как и в работе с ножкой. На каждую ручку ушел приблизительно один час. Теперь мой манекен выглядел как манекен. Осталось только прикрепить его к стене.
В задней части бревна я просверлил отверстия для крепежа и сделал скобу на стене своего гаража из болтов размером 4х4. Манекен был помещен на место и готов к использованию. Теперь осталась только одна проблема - как же, черт возьми, мне использовать эту штуку?
Я понимал, что для этого необходимо изучать Вин Чун, поэтому купил себе книгу, несколько видеозаписей и начал изучать технику использования Мук Ян Джонга. С помощью своего друга, который ранее занимался Вин Чун, я постиг основы техники. Несколько месяцев все было хорошо, но вскоре я понял, что мой основной стиль, “семь звезд молящегося богомола”, страдает от этого, поскольку я слишком много уделяю времени на Вин Чун и деревянный манекен.
Я спросил себя: “Что ты делаешь? Ты еще толком не изучил “семь звезд молящегося богомола”, а теперь изучаешь новый стиль только для того, чтобы использовать этот деревянный манекен?” После этого, Мук Ян Джонг некоторое время просто стоял без дела в моем гараже.
Чисто случайно, в интернете мне попалась старая, давно вышедшая из печати книга о “семи звездах молящегося богомола”. Я ее заказал. После доставки я ее пролистал и с изумлением увидел как учащийся “семи звездам” использует деревянный манекен с техникой богомола! Неужели это правда? Неужели я смогу использовать Мук Ян Джонг с чем-то другим, нежели Вин Чун? Там была “хватка богомола”, “взмах семи звезд”, уклоны, парирования, работа ногами. Там было все, я просто об этом не знал.
Это была хорошая книга семи звезд, и благодаря ей я понял принципы работы с деревянным манекеном. Вам не нужно знать Вин Чун, чтобы использовать Мук Ян Джонг.
Тренировки с деревянным манекеном
Теперь я регулярно использую Мук Ян Джонг. Я не стою перед ним часами, как это было ранее. Сейчас я работаю над техникой, как это было всегда. Затем выбираю из нее несколько приемов для отработки на манекене и оттачиваю их до совершенства, пытаюсь использовать их в различных комбинациях, а затем совершенствую их в работе с живым партнером.
Как оказалось, деревянный манекен может служить хорошей ступенью для перехода от техники к прикладному применению.
Необходима лишь небольшая адаптация. Во многих приемах используют очень прямолинейные движения. Я заметил, что во время выполнения приемов, вместо прямолинейных движений, двигаюсь от одной стороны манекена к другой. Это немаловажно, поскольку техника перемещения из стороны в сторону используется во многих стилях.
Мне удалось узнать, что почти любой прием можно использовать на Мук Ян Джонге. Для этого необходима только ясная голова и немного творчества.
Весь процесс создания манекена окупился сторицей и не был таким уж сложным, каким я себе представлял. Поcле того, как узнал, что потребность в изучении Вин Чун не является необходимостью, я мог адаптировать его для своих нужд и это большой плюс. В итоге, я стал владельцем ценного предмета, помогающего в тренировках практически любого стиля, и, должен признать, довольно круто иметь у себя в распоряжении подобную вещь.
Автор: Брайан МакКэрри
Поиск информации: Jason DinAlt
Перевод: EvilDollaR
Чертежи с размерами и коментариями прилагаются. Естественно, с переводом на русский язык и подходящими единицами измерения.


Спасибо вам ваши труды. Энтузиазм бесценен. Об экшне мало ресурсов. И ваша популяризация необходима…
С новым годом Вас всех, причастных к этому каналу, что я читаю уже больше…
Сложно сказать где бы Марко Сарор плохо смотрелся.)
В роли Крэйвена хорошо бы смотрелся Марко Сарор. Высокого роста, атлетичный, хорошо двигается. 100%…